Are you ready to tackle the task of changing the disc pads on your bike? Jim at All Terrain Cycles is here to guide you through the process step by step.
What tools do you need?
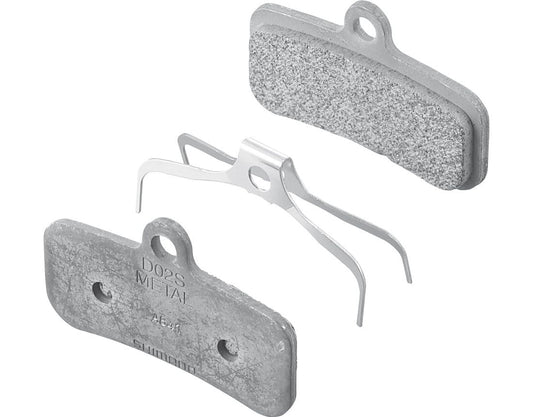
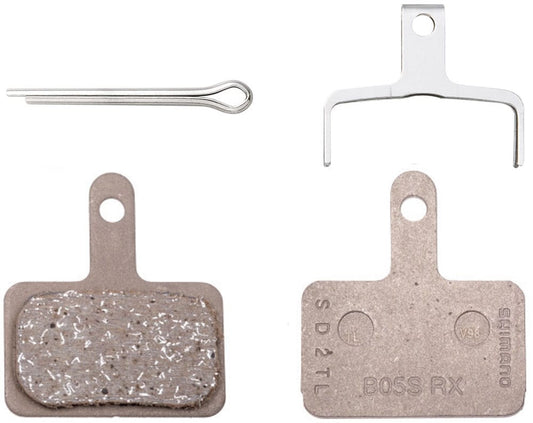
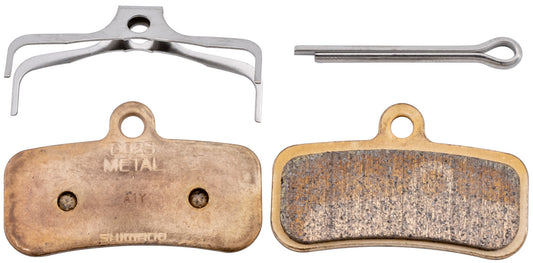
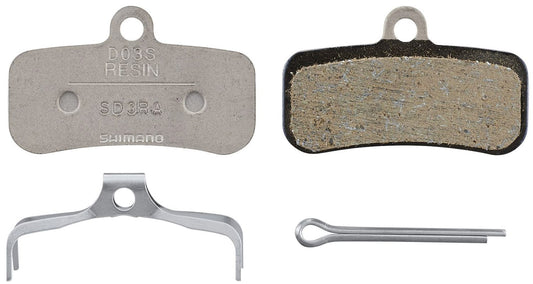
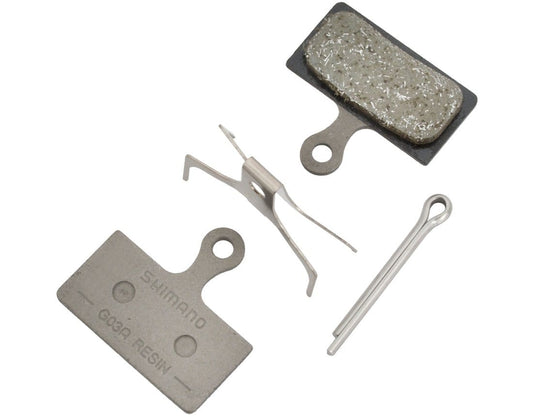
Before you begin, make sure you have the necessary tools on hand. You will need a set of Allen keys, a clean rag, some brake cleaner, and of course, a new set of disc pads that are compatible with your bike.
How do you remove the old disc pads?
Start by removing the wheel from your bike to gain access to the disc brake caliper. Use the Allen keys to loosen the bolts holding the caliper in place. Once the caliper is free, carefully remove the old disc pads from the caliper, taking note of how they are positioned.
How do you install the new disc pads?
Before installing the new disc pads, clean the caliper and rotor with brake cleaner and a clean rag. Then, insert the new disc pads into the caliper, making sure they are positioned correctly. Once the new pads are in place, reattach the caliper to the bike and tighten the bolts securely.
How do you test the brakes?
After changing the disc pads, it's important to test the brakes before riding your bike. Squeeze the brake lever a few times to ensure that the pads are making contact with the rotor. If everything feels good, take your bike for a short test ride to make sure the brakes are working properly.
Changing the disc pads on your bike may seem like a daunting task, but with the right tools and guidance, you can do it yourself. Thanks to Jim at All Terrain Cycles, you now have the knowledge to keep your bike in top condition.